How to Turn a Raspberry Pi Into a Retro Gaming Console: DallasFixTech's Ultimate Guide
For gamers yearning for the nostalgic charm of classic arcade cabinets and vintage consoles like the NES, SNES, Sega Genesis, or Atari, a **Raspberry Pi** offers an incredibly versatile and affordable solution. This credit-card-sized computer can be transformed into a powerful retro gaming console, capable of emulating hundreds of classic systems and games. At **DallasFixTech** in Dallas, TX, we're passionate about DIY tech and helping you unlock new possibilities with your hardware. We'll guide Dallas gamers through converting a Raspberry Pi into a versatile retro gaming powerhouse, covering everything from installing **RetroPie** and configuring controllers to optimizing display settings for smooth, lag-free play. Bring nostalgia back to your home!
Why a Raspberry Pi is Perfect for Retro Gaming (DallasFixTech Advantages)
- Affordable: Raspberry Pi boards are inexpensive, making it a budget-friendly way to enjoy classic games.
- Compact & Portable: A tiny console you can take anywhere.
- Versatile Emulation: Supports a vast library of classic consoles and arcade games through various emulators.
- Community Support: Large online communities provide extensive resources and troubleshooting.
- Educational: A fun way to learn about Linux, command lines, and single-board computers.
- Low Power Consumption: Runs on minimal power, ideal for always-on setups.
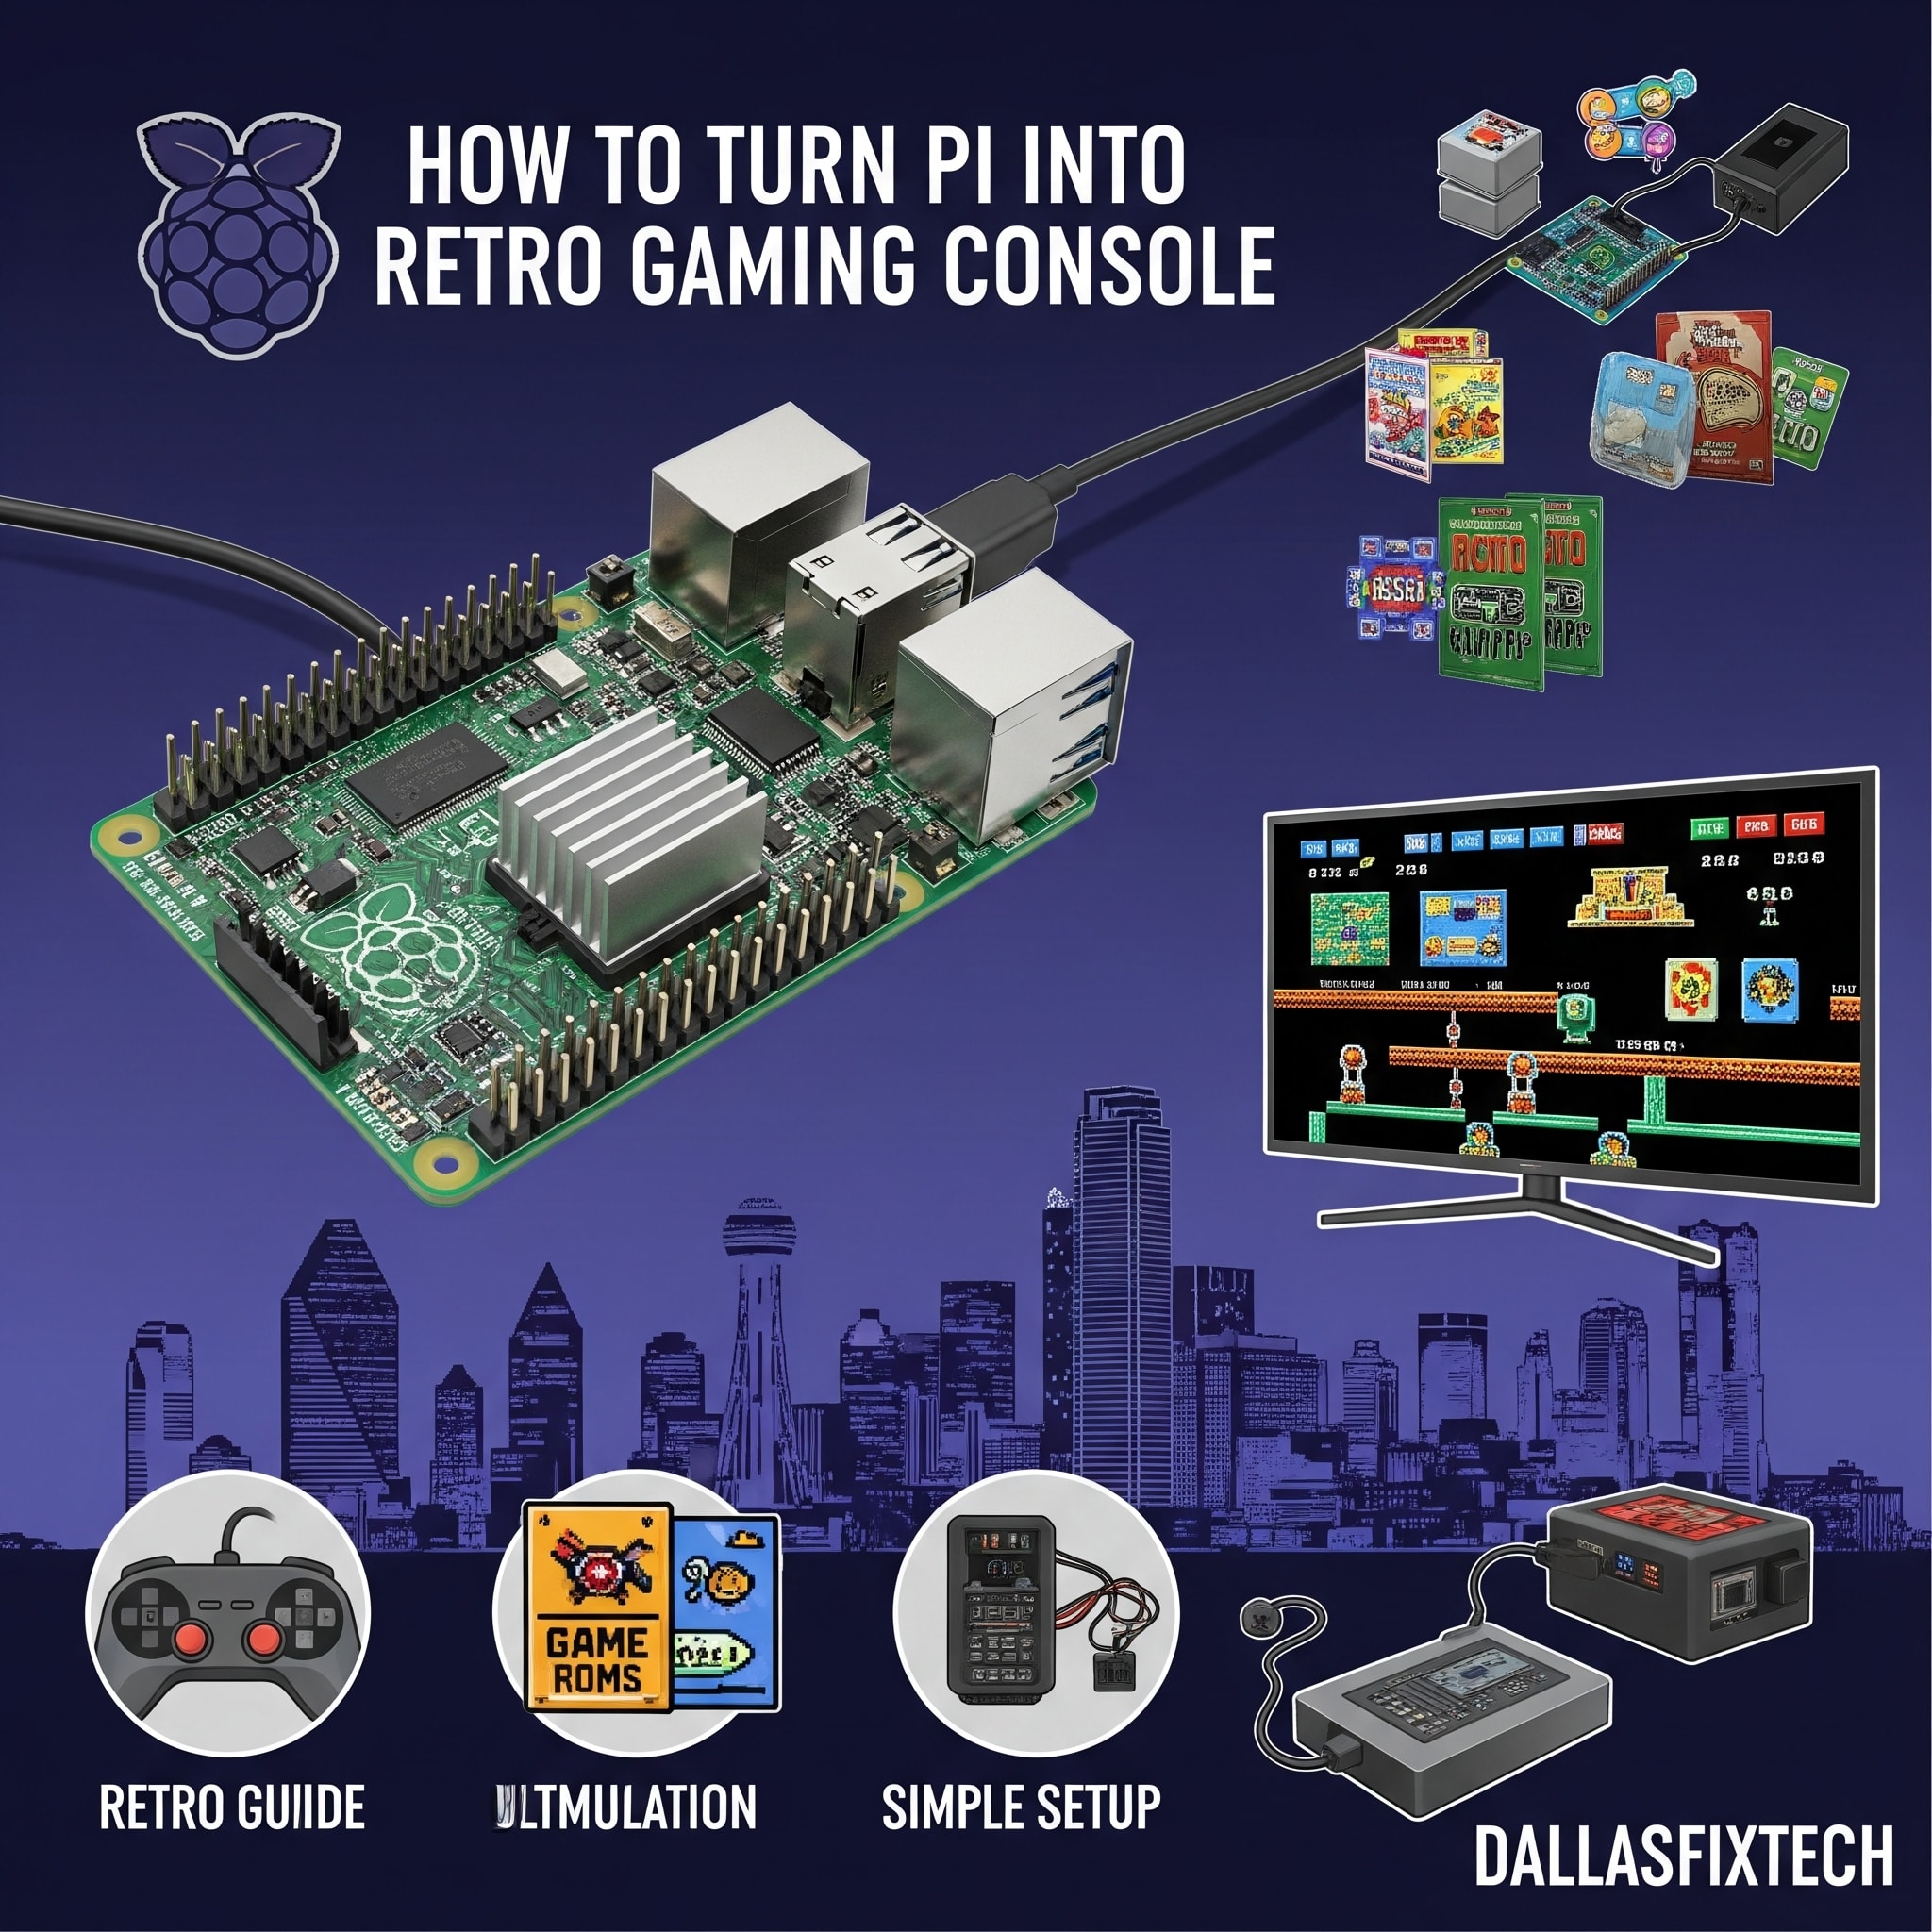
DallasFixTech’s Step-by-Step Setup for Your Retro Gaming Console
Follow our comprehensive guide to build your own retro gaming system:
- Choose Your Raspberry Pi Model: For best performance, especially for more demanding systems like N64 or PS1, we recommend a Raspberry Pi 3B+, 4, or 5.
- Prepare Your MicroSD Card: Download the RetroPie image (from retropie.org.uk) and flash it onto a high-quality microSD card (32GB or larger recommended) using a tool like Balena Etcher.
- Install RetroPie: Insert the microSD card into your Raspberry Pi and power it on. RetroPie will automatically boot and set up basic files.
- Network Setup (Wi-Fi/Ethernet): Connect your Pi to your home network via Wi-Fi or Ethernet to download updates and transfer game ROMs.
- Controller Setup & Configuration: Connect your favorite USB or Bluetooth controllers (e.g., Xbox, PlayStation, 8BitDo retro controllers). RetroPie will guide you through mapping the buttons for all emulators.
- Legal ROM Sources: Understand how to legally obtain game ROMs (Read-Only Memory files). Generally, you should only play games you legally own or those in the public domain. **DallasFixTech** can guide you on safe and legal sourcing.
- Transfer Game ROMs: Copy your game ROMs to the appropriate folders on the Raspberry Pi (via network share, USB stick, or SFTP).
- Performance Optimization: For smoother play on demanding games, you can adjust emulator settings (e.g., resolution, shaders, frame skipping) within RetroPie. Ensure your power supply is sufficient for sustained gaming.
- Display & Audio Configuration: Optimize display settings for your TV or monitor and ensure audio is outputting correctly.
- Customization (Optional): Explore custom themes, splash screens, and even adding a mini-arcade cabinet.
Bring Nostalgia to Your Dallas Home with DallasFixTech’s Expert Retro Gaming Tips!
Revisit your favorite childhood games or discover new classics. **DallasFixTech** offers expert advice and setup assistance for DIY and advanced tech projects in Dallas, TX. Bring nostalgia to your Dallas home with DallasFixTech’s expert retro gaming tips. **Schedule a service** today or **Contact us** for a consultation on converting your Raspberry Pi into a retro gaming powerhouse!


